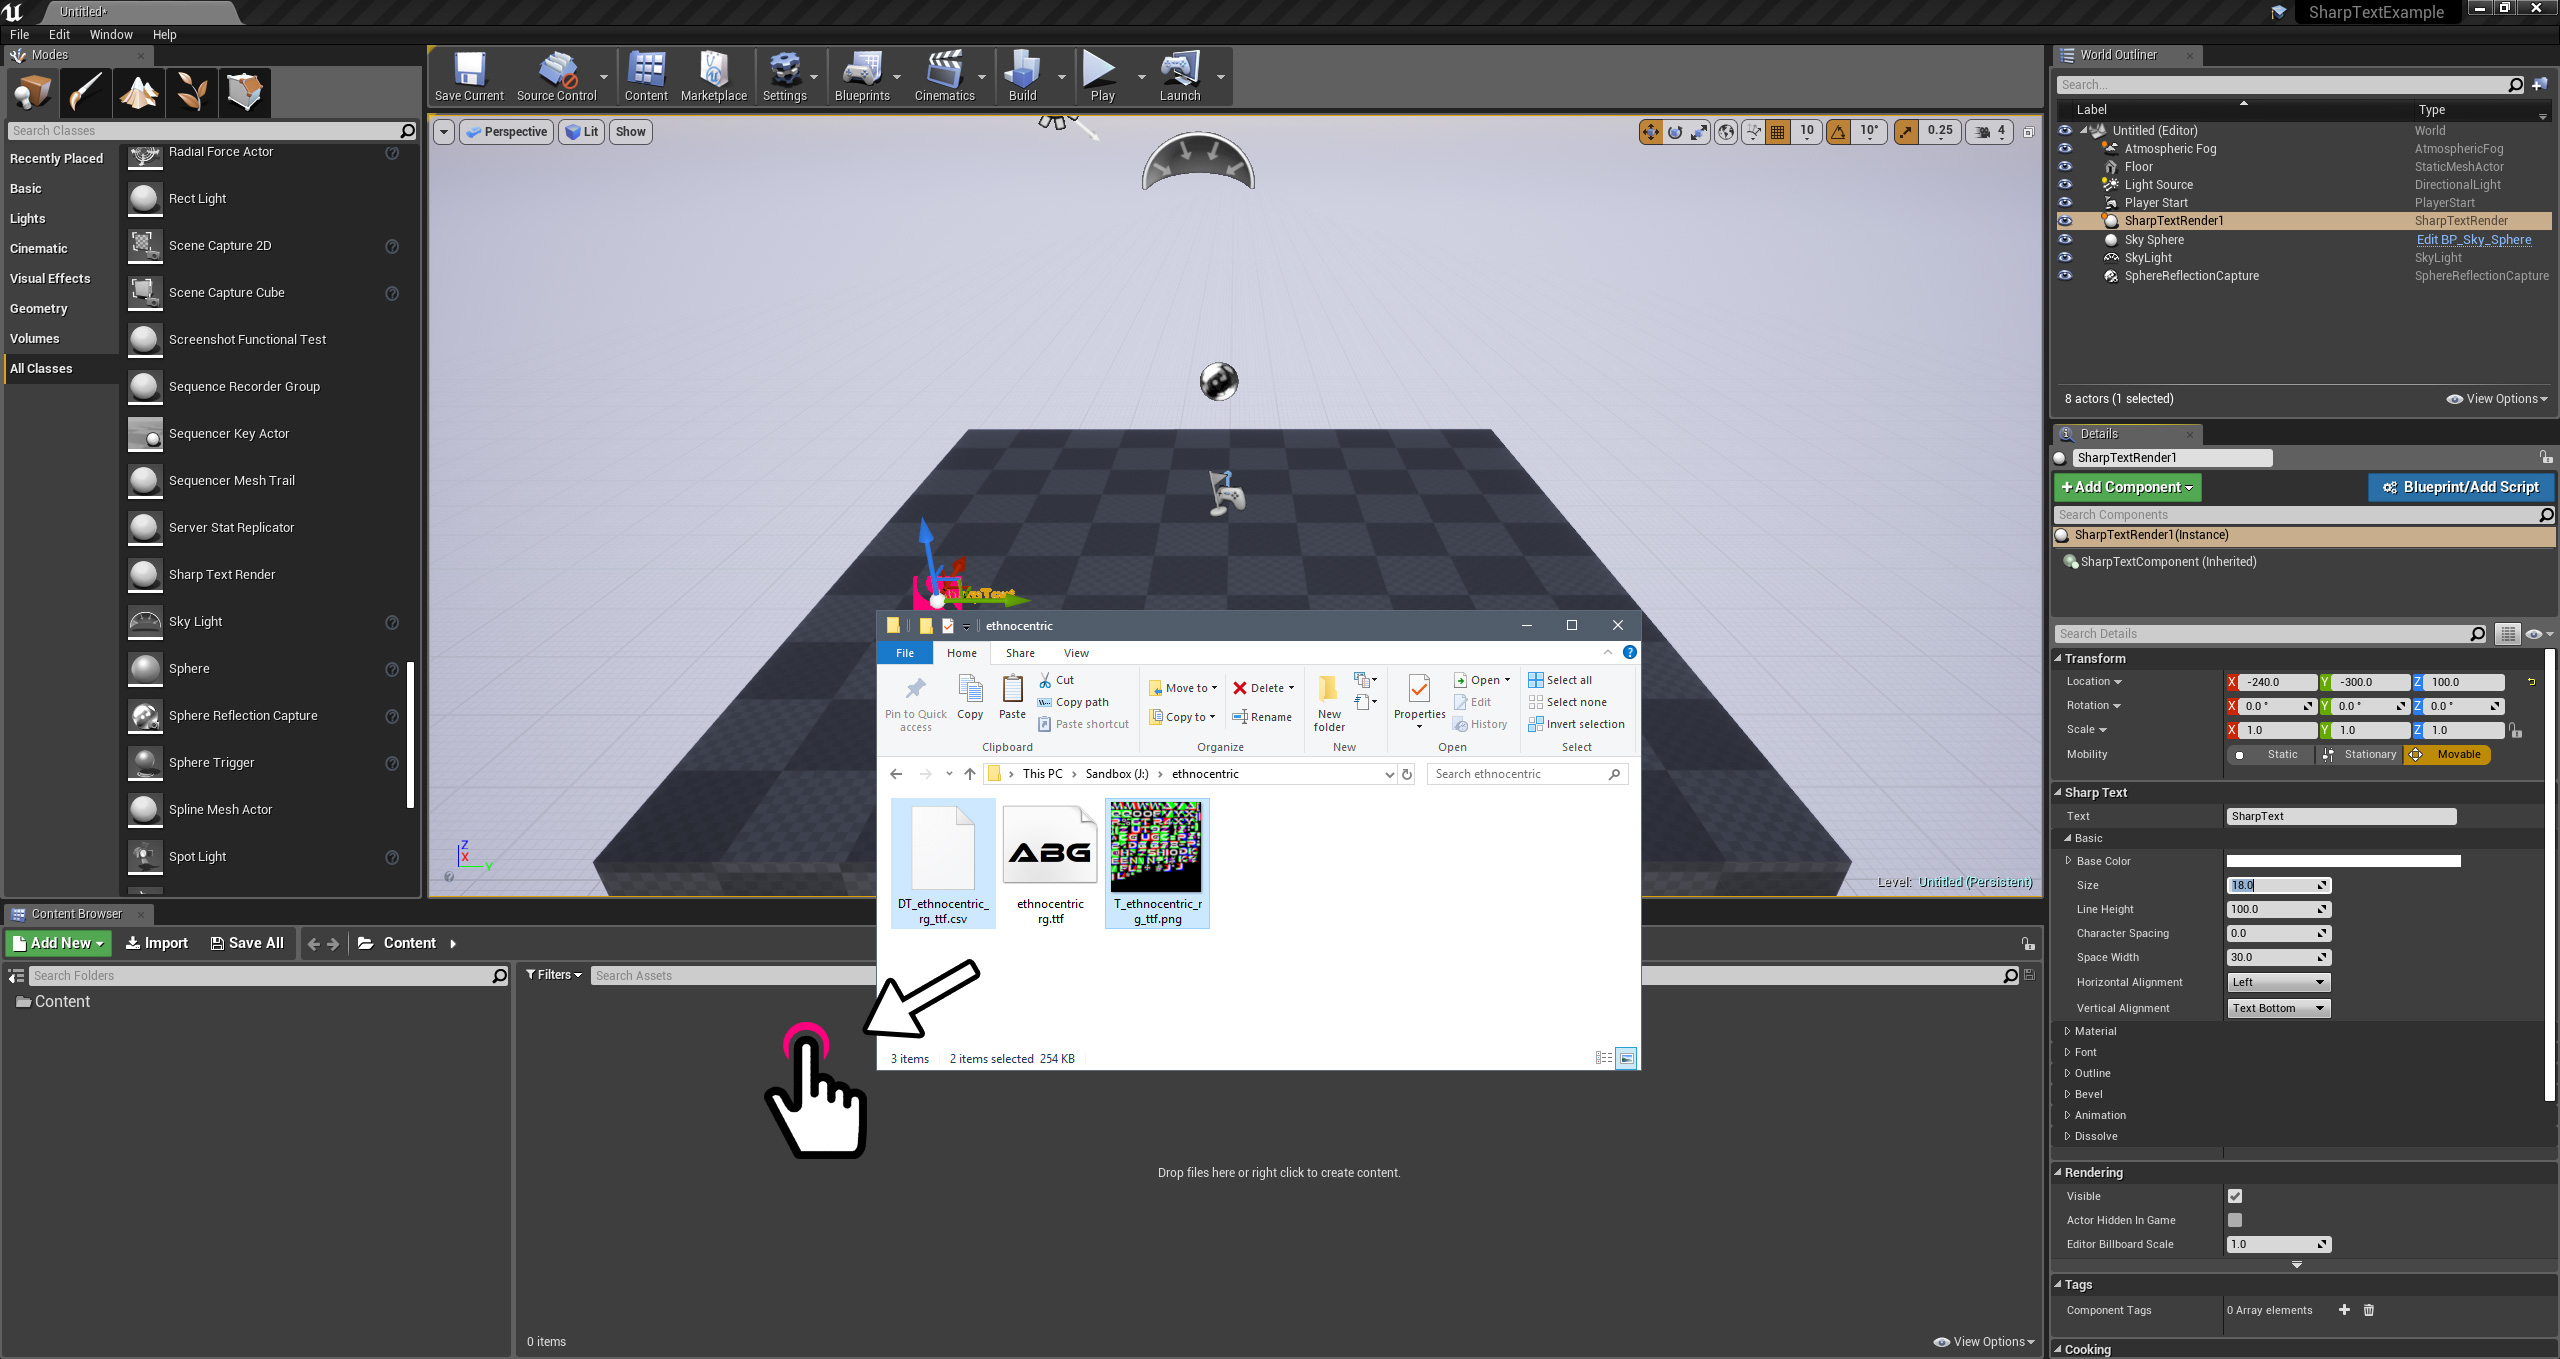
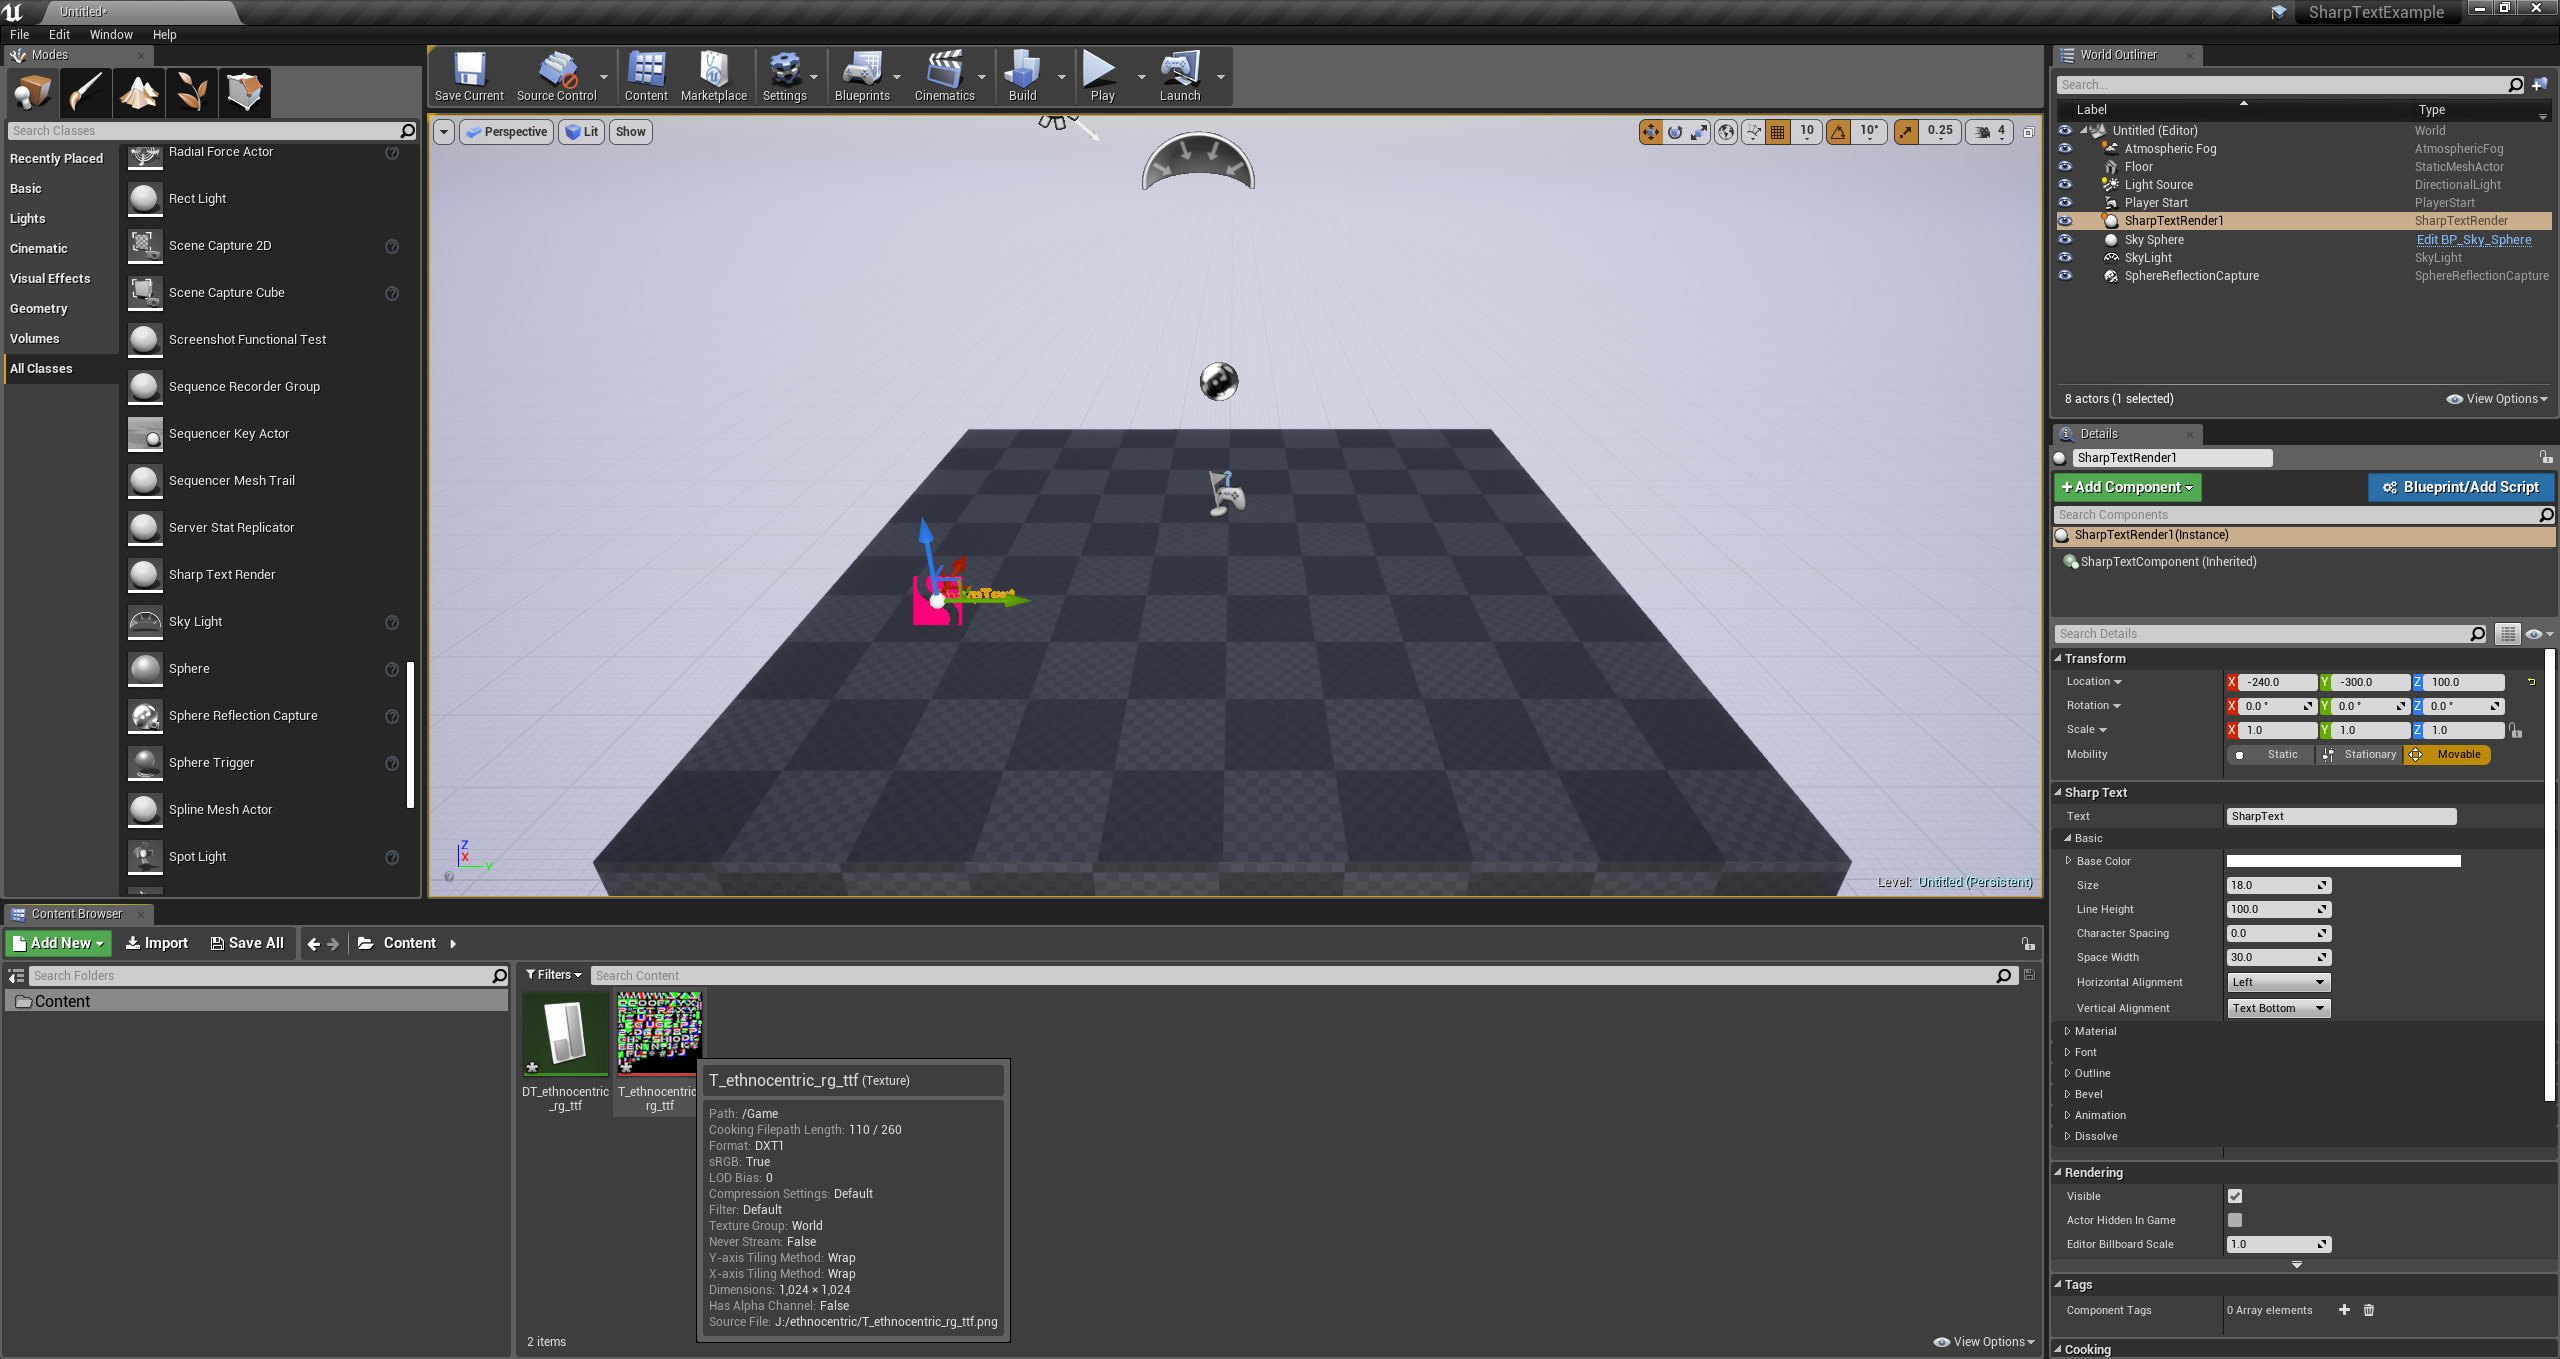
After you created your custom font data and texture files as described in the Creating Custom Fonts article, you are now ready to import it to your Unreal Engine 4 project. For this, all you have to do is simply drag these two files (PNG and CSV files) and drop on your project’s content browser.
The new dialog window titled “DataTable Options” would appear as soon as you drop these on your content browser, asking you for the preferred data parsing options for the font data file (CSV) you are importing. You will need to make your selections as shown in the image below.
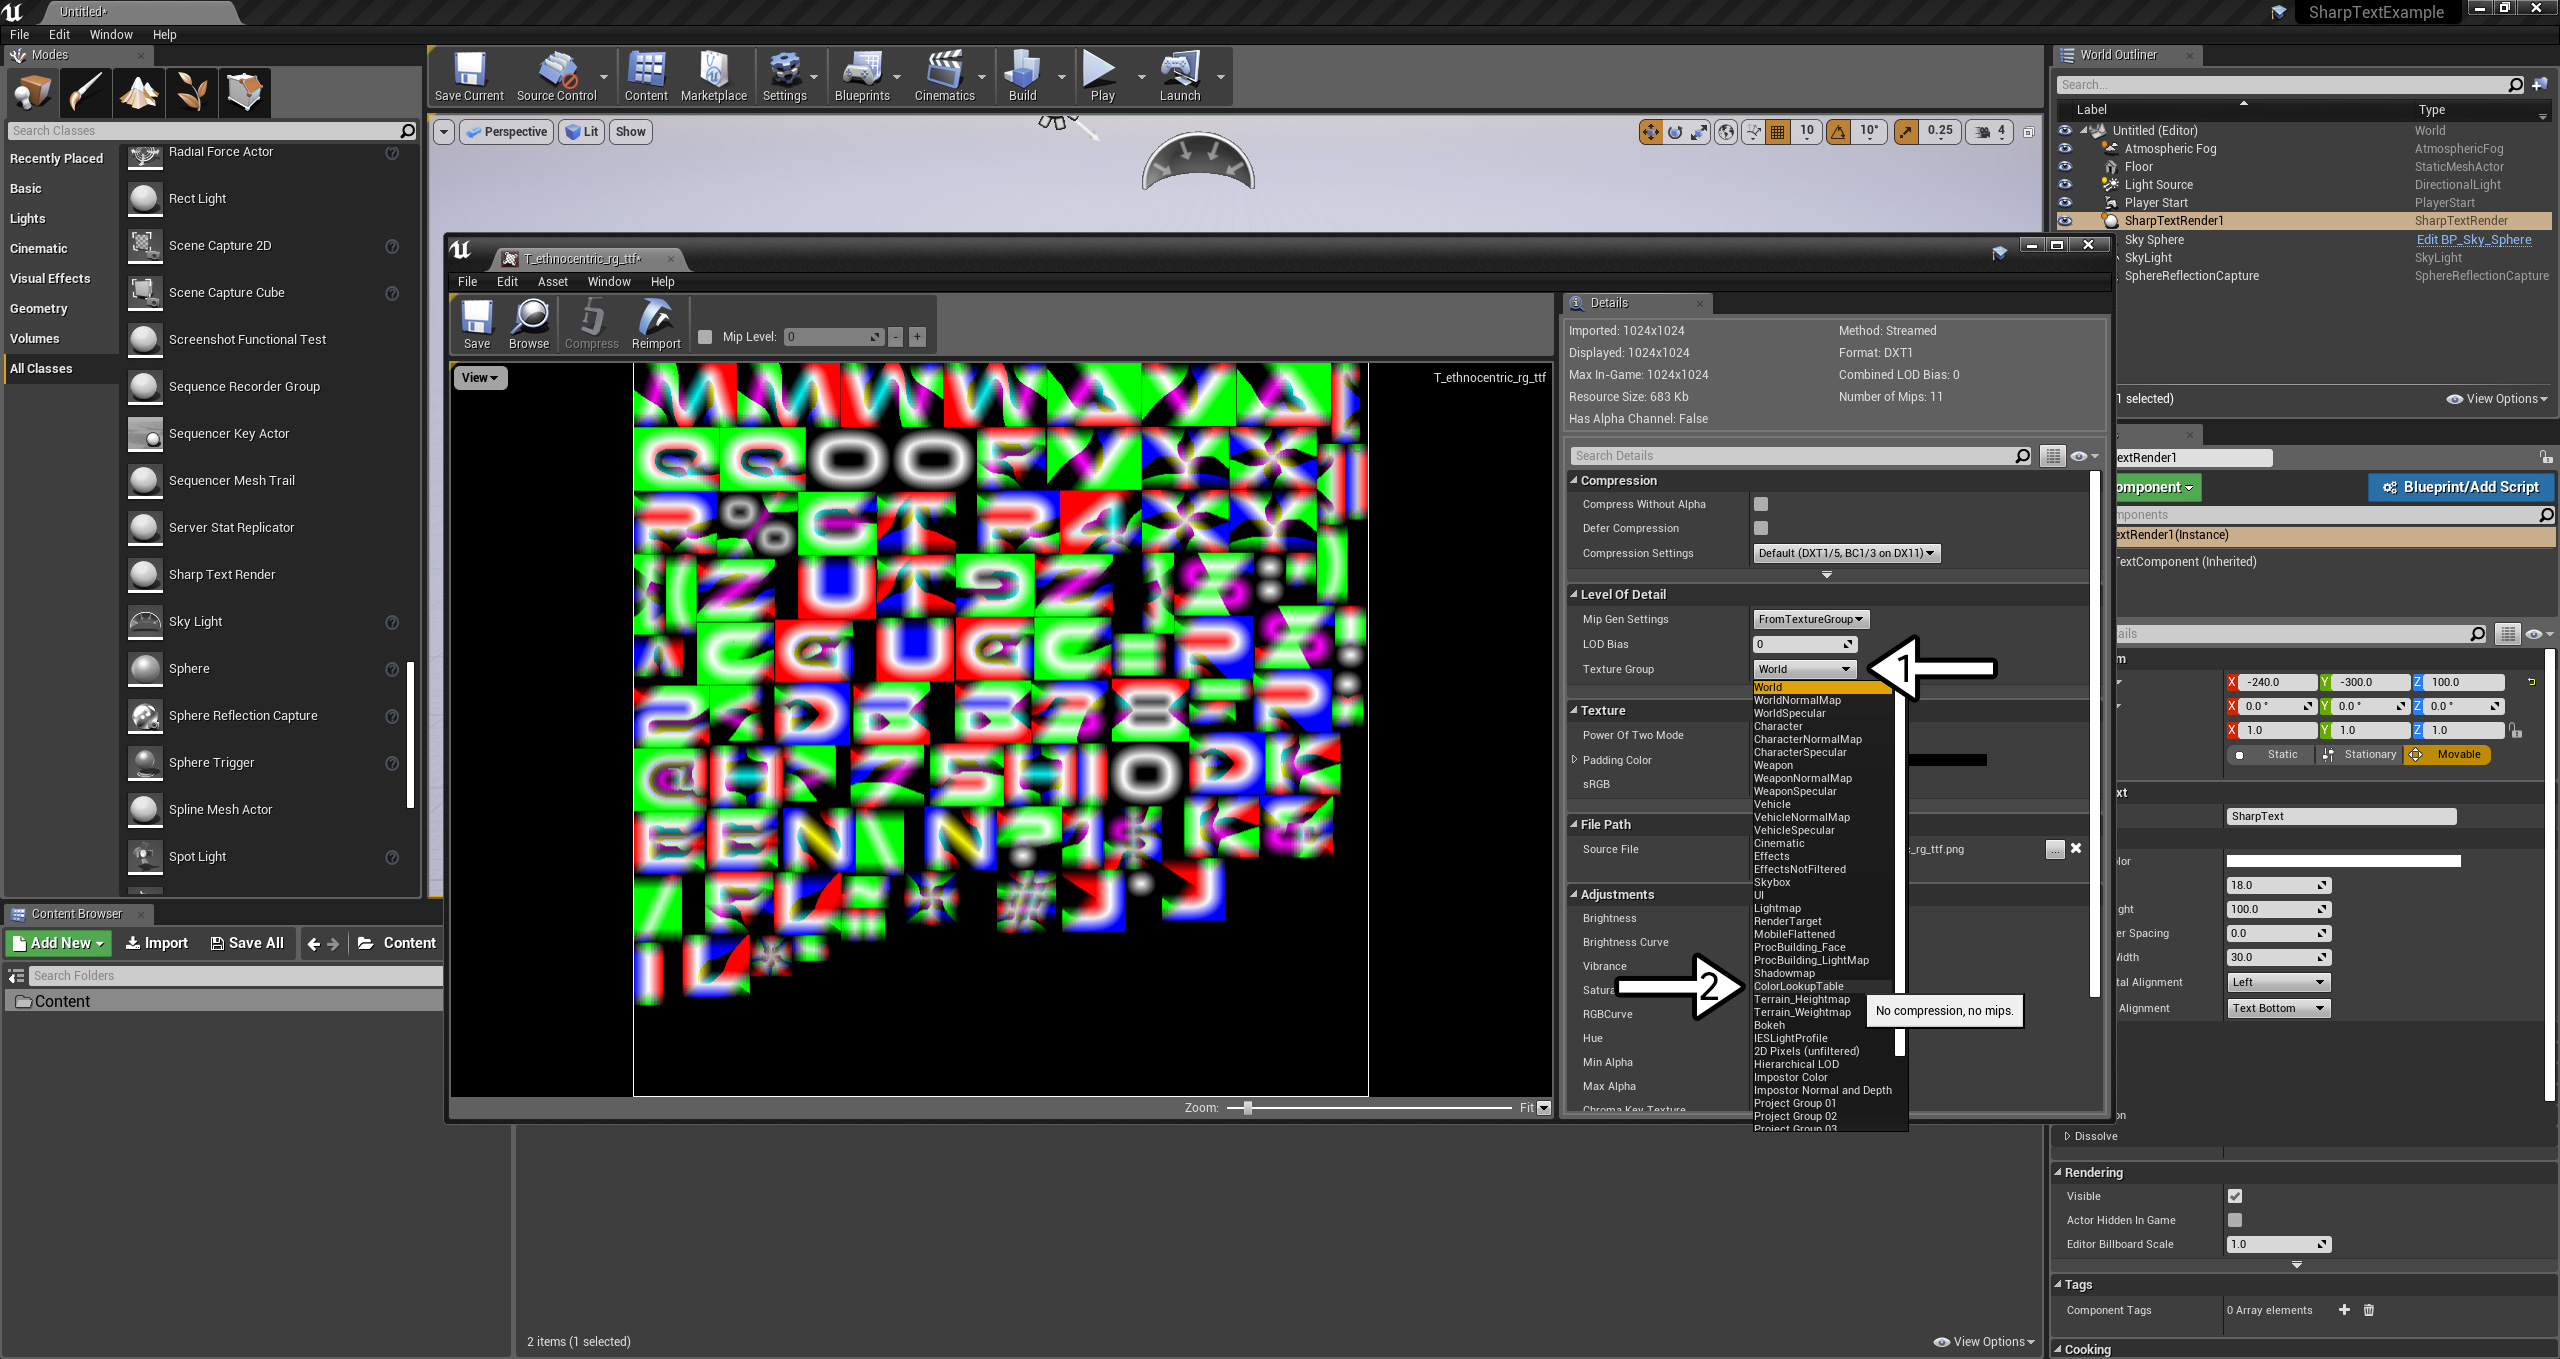
Next, you will need to double click on your newly imported font texture file (PNG) to open its details window.
In this window; click to “Texture Group” dropdown and select the “ColorLookupTable” option. Click “Save” and close this window.
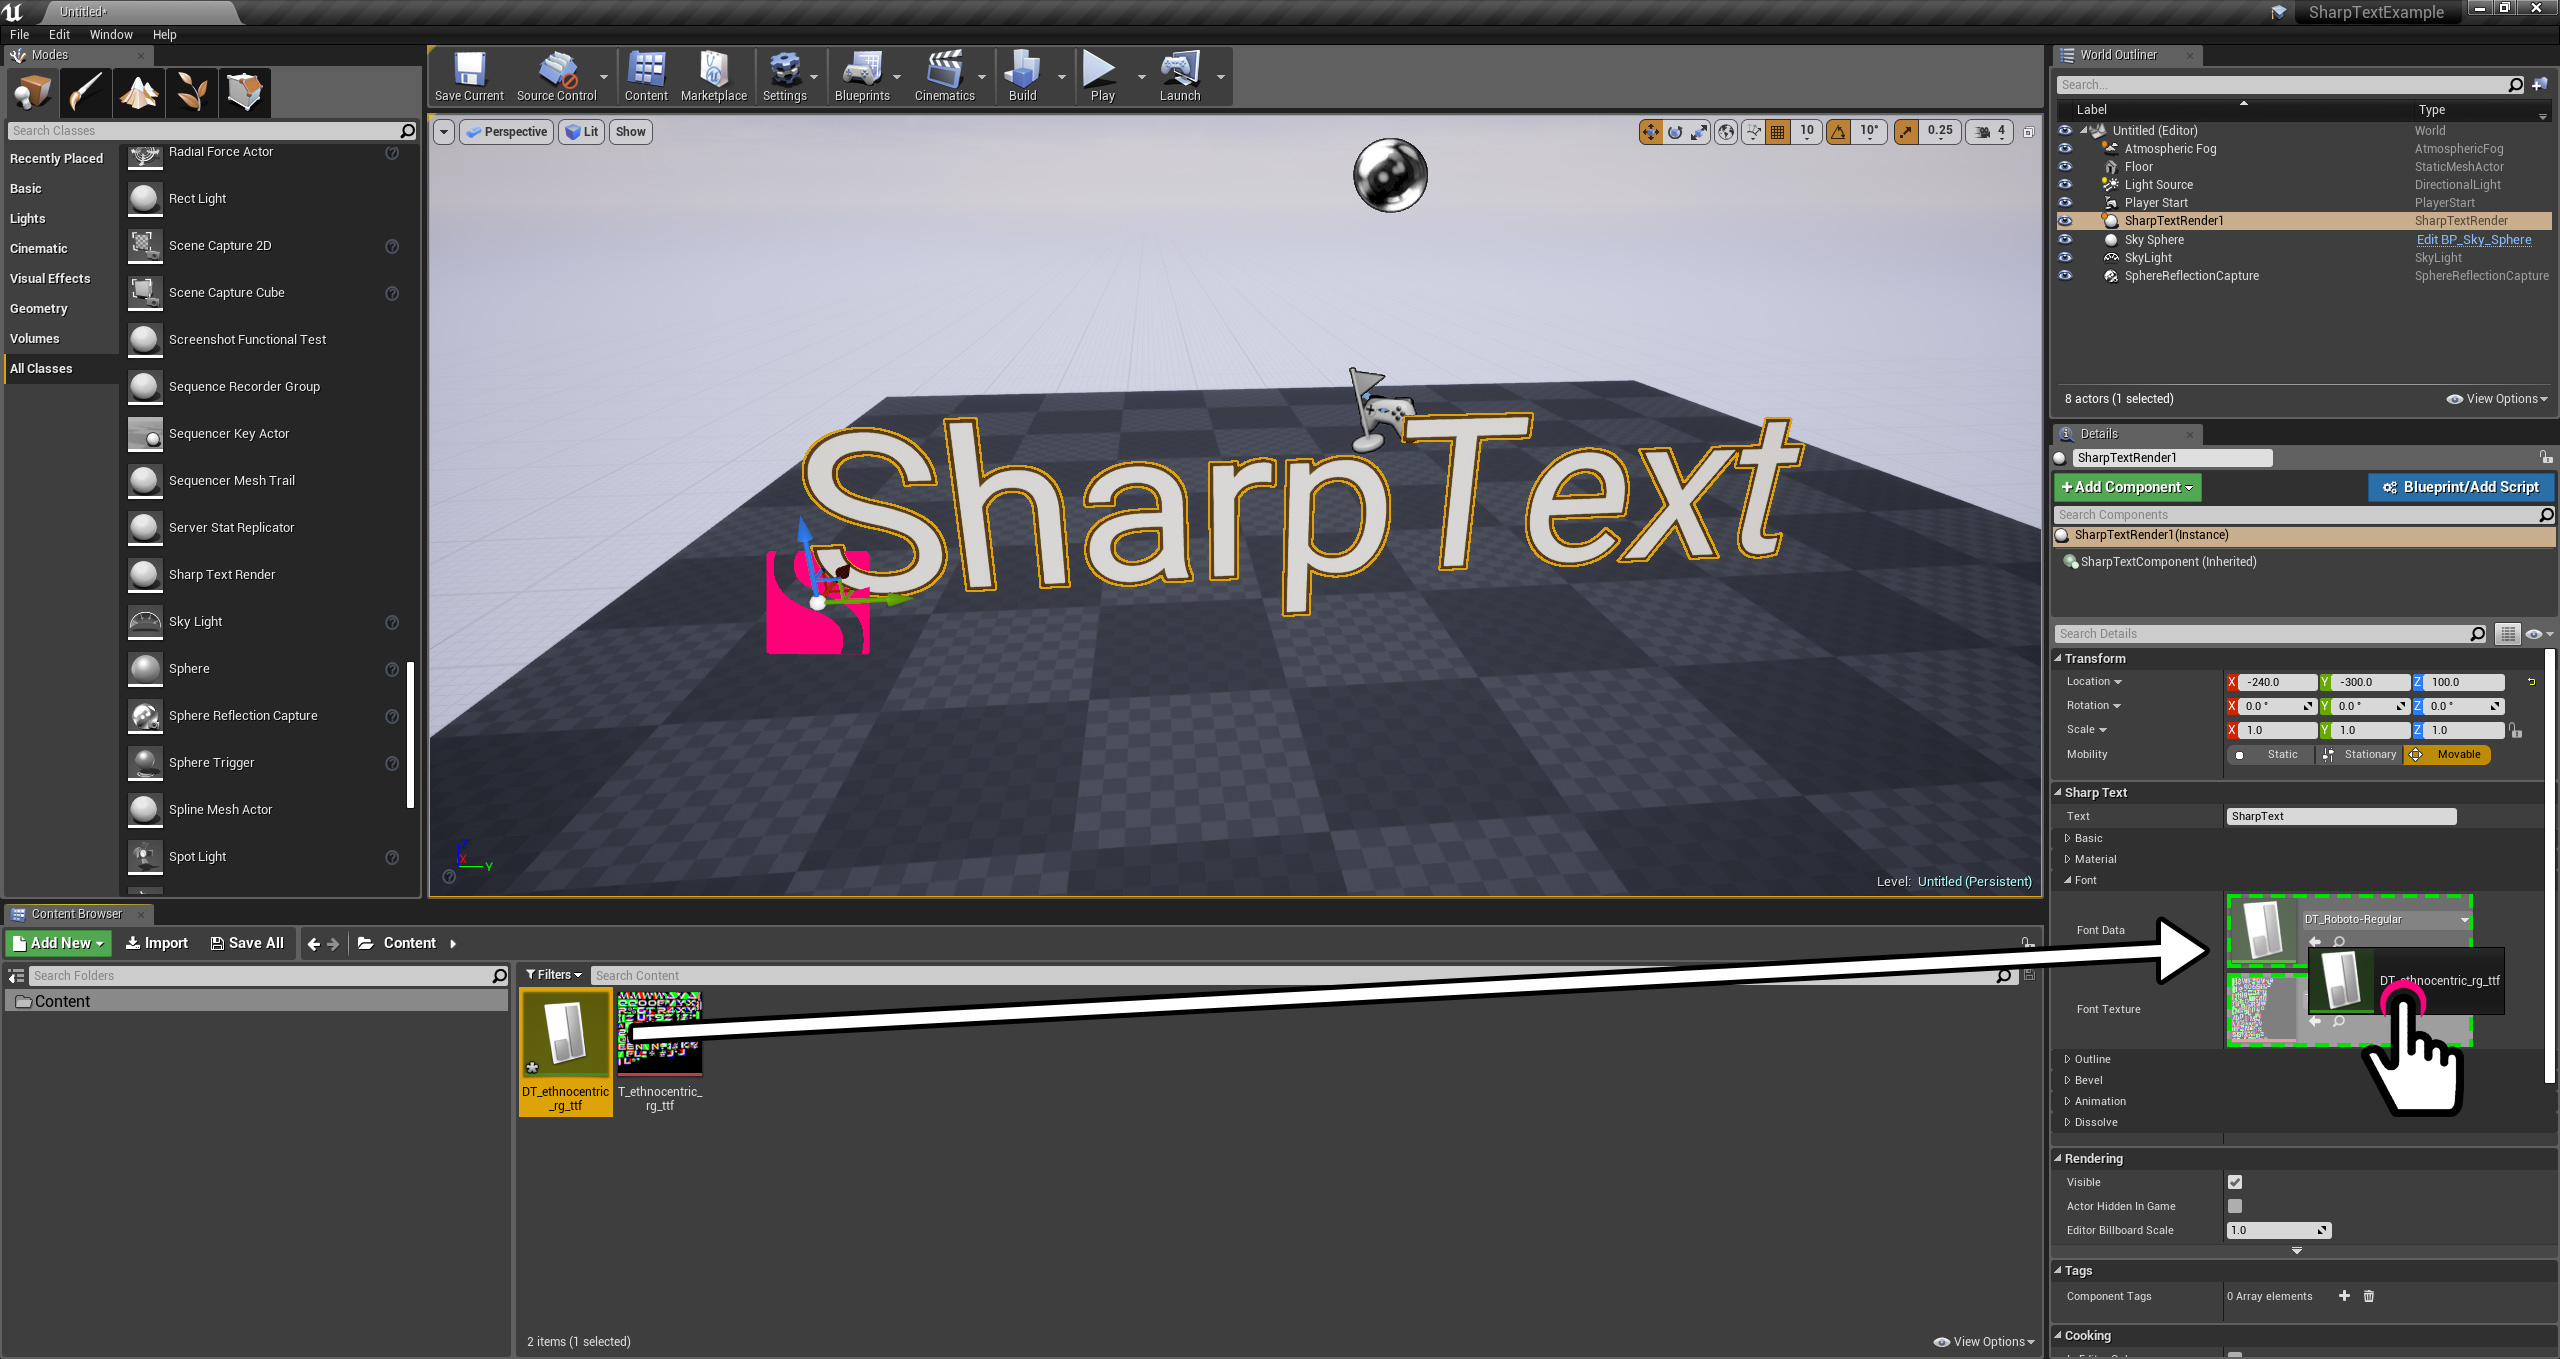
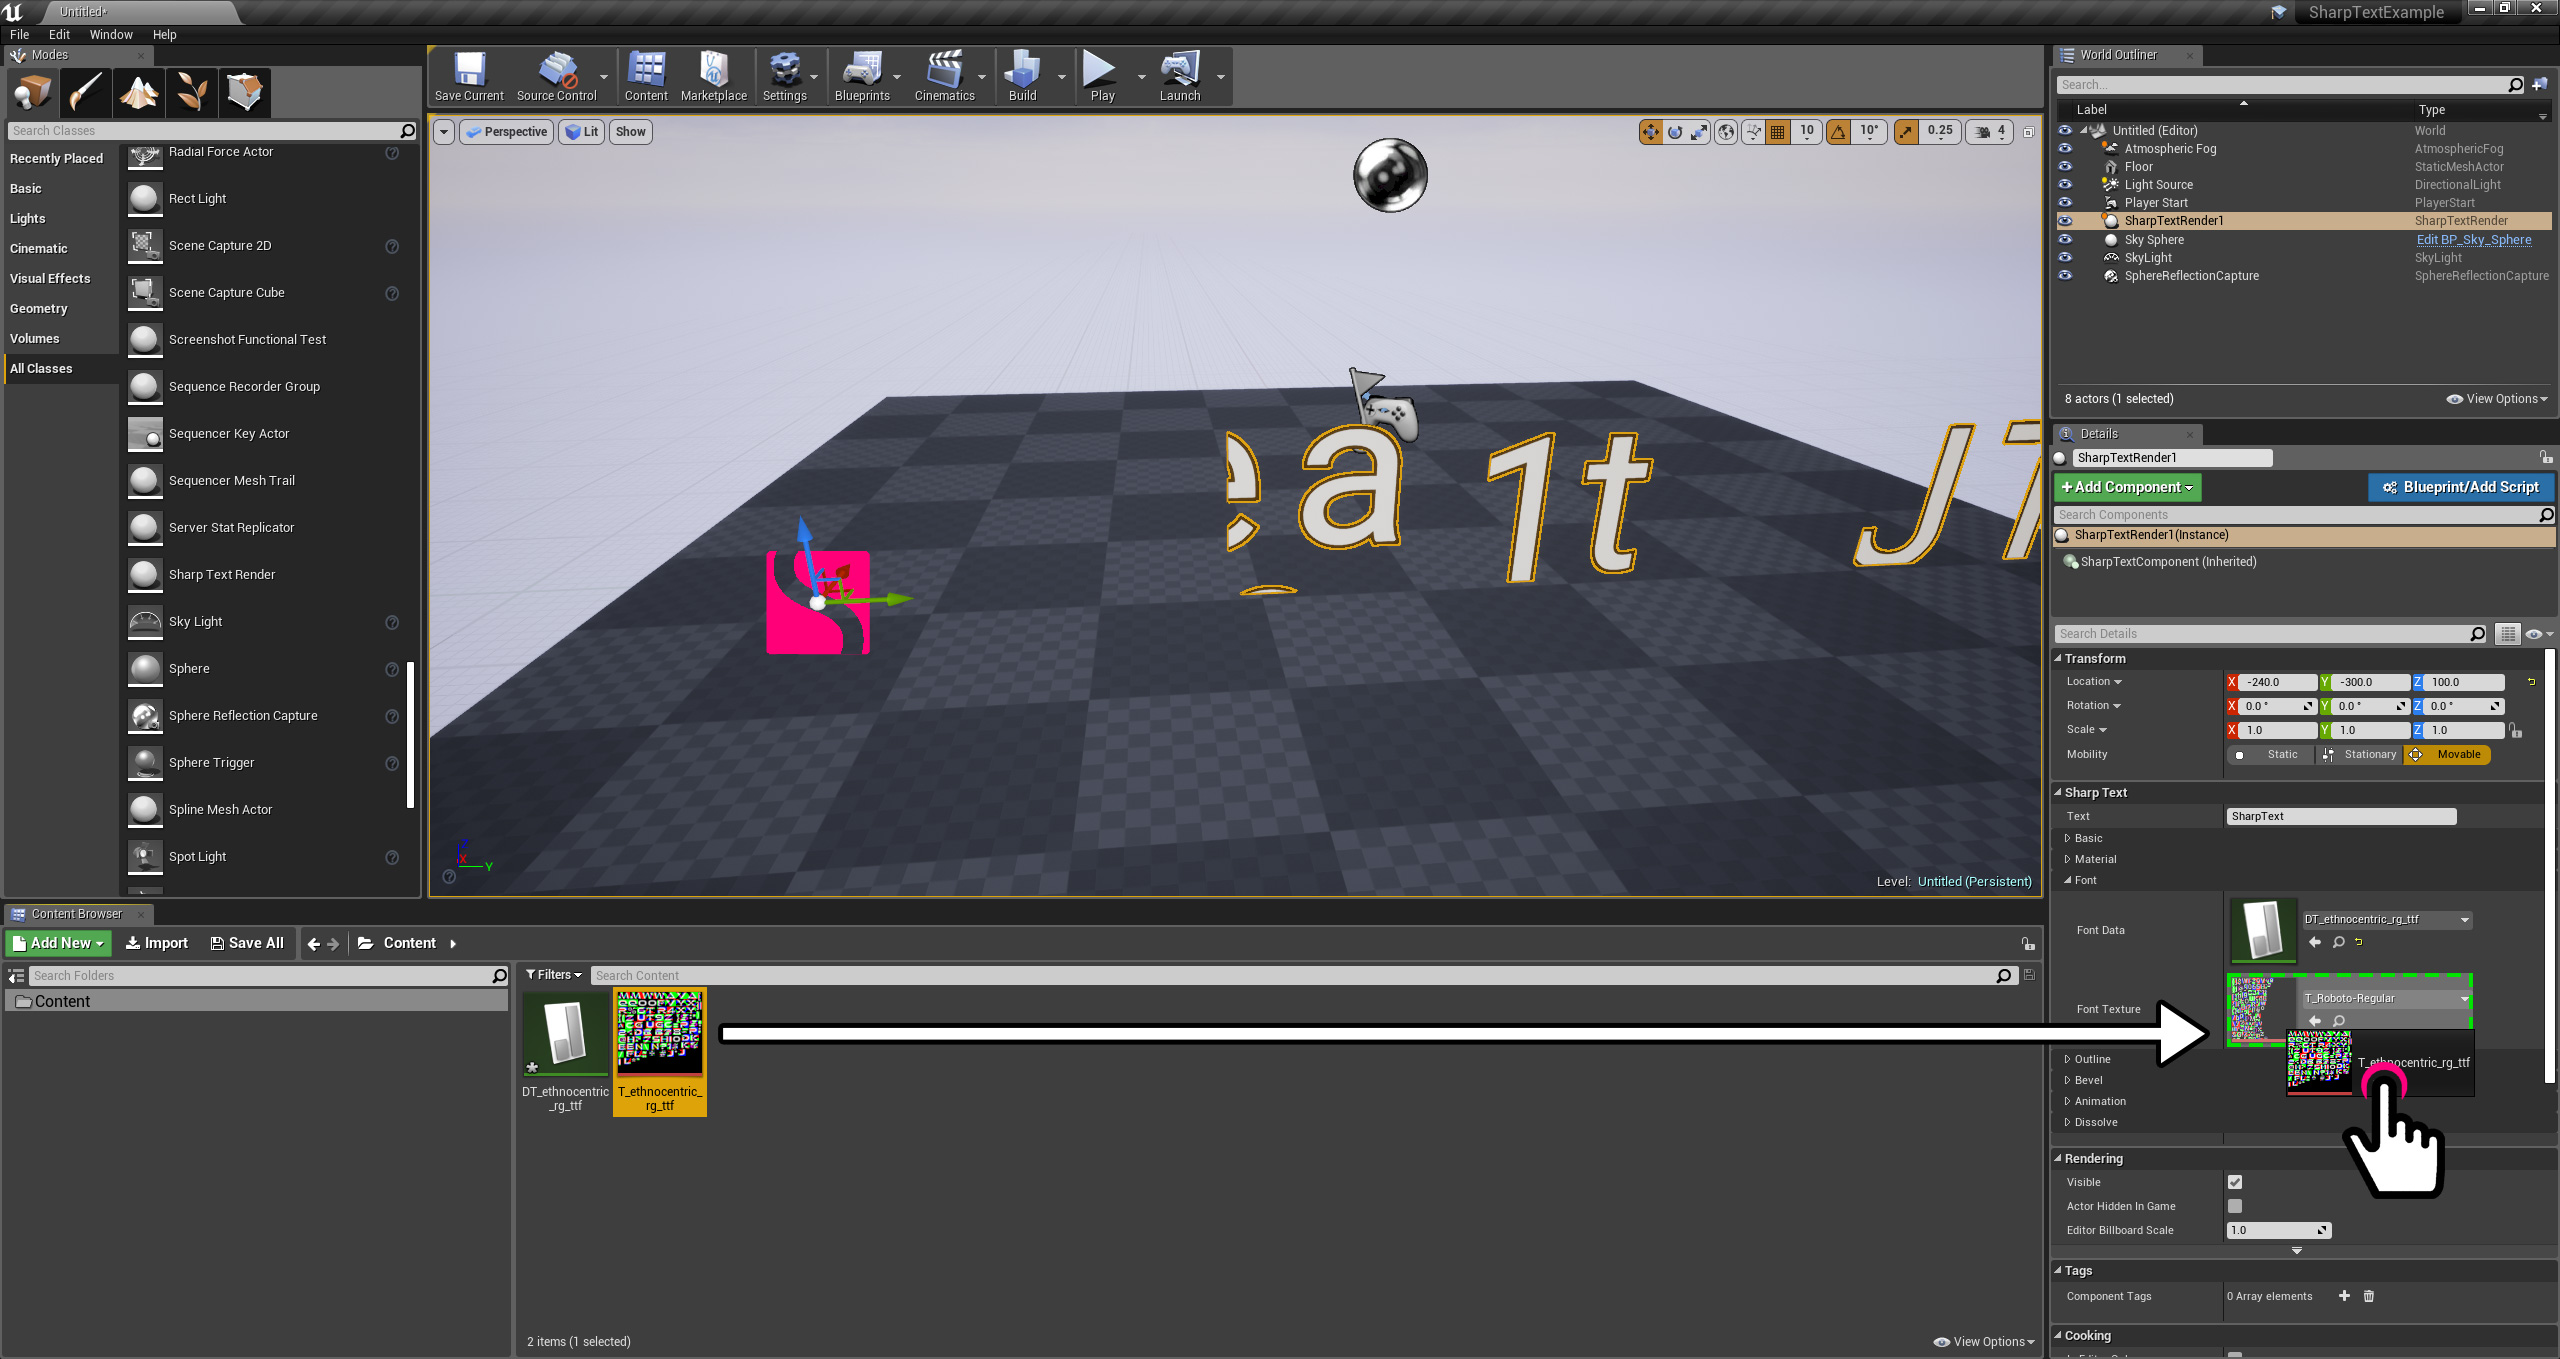
You are now ready to assign your new font assets to any SharpTextRender actor in your level. For this; select any SharpTextRender actor in your level and expand the “Font” category which resides in its details window. First, drag your font data file (imported as CSV, now is DataTable) and drop on the “Font Data” slot.
At this time, you probably see the scrambled and cutout letters in your viewport, as shown below. This is because your new font data doesn’t match with the current font texture. To fix this, drag your new font texture file (imported as PNG, now is Texture2D) and drop on the “Font Texture” slot.
That’s it! This SharpTextRender actor is now using your new font.

